My camera is giving me trouble so I only have a couple of photos to share with you. Two weeks ago it was my computer, now the camera. Bye, bye tax refund.
I've had some nice thrifting trips over the last few days, all small things but they bring a little joy nonetheless!
I have loved calligraphy since I was a child and my grandparents bought me a calligraphy set for my birthday. This has been a fun book to flip through. About a month ago I bought a book by Mortimer Leach ,Lettering for Advertising. When I opened the paperback shown above the same owner's name was written on the inside cover!
I am falling in love with vintage books. I can't understand how anyone reads on a Nook (Knook?) or other device full time. The feel of a book in your hands is so comforting (sorry, cheesy, I know). I put this set together from my recent finds from antique markets and thrifting. I listed it in my Etsy shop on Thursday and it sold on Friday! They've only encouraged me, now I'm prepared to list endless books this week.
This poor platter was in horrible shape when I discovered it. A little baking soda cleaning has it looking lovely. It's from Buffalo pottery and has the raised buffalo mark on the back. I'm researching when the various marks were used in order to date this platter.
This pewter cup was found at an "upscale resale" shop. I got it for a great price, I suppose because it is already engraved. Personally, I love silver and pewter that's been engraved. If you have or are trying to create a collection I think the engraving makes for interesting conversation and makes your collection unique.
Cheers! Happy thrifting...
Monday, February 28, 2011
Tuesday, February 22, 2011
Affordable Rugs
I used to think of rugs as one of those big ticket items that I wouldn't be able to afford until the kids went off to college...which makes no sense, cause that's when you're really broke, right? In the last couple of years I've started to change how I think about where and how to buy rugs and quickly realized that nice rugs aren't out of the question for a small budget.
These are two rugs I've bought in the last year:
This is a nice quality, hand-knotted wool rug that I purchased for $100. It measures 7'x4.5' and lies in front of our bedroom seating area. I attended a storage space sale that was advertised on craigslist. A woman in her sixties was looking to clear out her many purchases from 20 years of travel and residence in Europe and the Middle East. She had stored her excess treasures at a U-Haul facility and simply held a sale right out of the storage unit. Read the details of garage sale advertisements! You won't stumble upon the "jack-pot" every weekend but if you look consistently, a good sale will eventually come your way.
Last summer I discovered two great furniture consignment stores in our city. I recently purchased this rug for $65, it measures 3.5'x6'. Many design blogs and shelter magazines had been including beautiful, very worn, antique rugs in their spreads. I commonly see similar rugs in antique stores for $300-$600 so I was pleasantly surprised when I confirmed the price. Both furniture consignment stores in our area also carry a wide selection of rugs and small decor accessories and a handful of quality antiques. Check out the stores in your area! Go with an open mind and always try to picture the item in another setting. It's common for consignment stores to allow you to try the item in your home before committing to purchase.
If I was educated in interior design I'd make some insightful comments about rugs anchoring the room, setting the tone, blah, blah...but since I'm not I'll leave it to the awesome design blogs out there:
Little Green Notebook
Pure Style Home (really excellent post about her design process)
Urban Grace (she is shopping for rugs I can't afford, but good post anyway :))
Monday, February 21, 2011
Thrift Share
I would really love to have some opinions on this thrift find because I'm not 100% sold on it. Our house has an awesome covered deck and until recently it's been fairly cluttered and not too inviting. We have mounted heat lamps and seasonal clear covers so it should be getting use almost year-round.
In an effort to start sprucing up the deck, I went to The Salvation Army on Friday and came home with this:
I purposefully went to the thrift store looking for a coffee table. I rarely have a specific item in mind when I shop second hand and I was a little surprised that the thrifting gods granted my request so quickly. Is there a procedure for thanking the thrifting gods? Lemme know, would ya?
The surface is laminate and I'm assuming it's from the late 50s or the 60s (early 70s?). I've done zippo research but it seems like something produced for an elementary school library.
The best thing about it is the price - $10! So don't feel guilty if you leave me a comment saying it's the most hideous thing ever...I won't cry because it was only $10, yippee!
Obviously I walked by the housewares aisle while I was there and I found this little lovely:
It's a McCoy but only has the mold # and USA stamp. As you can see on this next picture the glaze on the base is a little sloppy. I haven't seen many small McCoy pitchers so I have no idea if this is typical.
It caught my eye because I recently bought her big sister on sale at an antique market. Big Sis is currently in my Etsy shop:
McCoy Water Pitcher

Sadly, my brief trip to The SA was my only hunting. The weekend was too busy for any estate sales or antique markets so I'm looking forward to checking out what else is being shared over at Apron Thrift Girl.
Cheers!
In an effort to start sprucing up the deck, I went to The Salvation Army on Friday and came home with this:
I purposefully went to the thrift store looking for a coffee table. I rarely have a specific item in mind when I shop second hand and I was a little surprised that the thrifting gods granted my request so quickly. Is there a procedure for thanking the thrifting gods? Lemme know, would ya?
The surface is laminate and I'm assuming it's from the late 50s or the 60s (early 70s?). I've done zippo research but it seems like something produced for an elementary school library.
The best thing about it is the price - $10! So don't feel guilty if you leave me a comment saying it's the most hideous thing ever...I won't cry because it was only $10, yippee!
Obviously I walked by the housewares aisle while I was there and I found this little lovely:
It's a McCoy but only has the mold # and USA stamp. As you can see on this next picture the glaze on the base is a little sloppy. I haven't seen many small McCoy pitchers so I have no idea if this is typical.
It caught my eye because I recently bought her big sister on sale at an antique market. Big Sis is currently in my Etsy shop:
McCoy Water Pitcher

Sadly, my brief trip to The SA was my only hunting. The weekend was too busy for any estate sales or antique markets so I'm looking forward to checking out what else is being shared over at Apron Thrift Girl.
Cheers!
Sunday, February 20, 2011
Shelter Magazine Sunday-Feb. 20
One of my all-time favorite houses from a magazine spread is the home of Ashley Edwards, featured in the November 2005 issue of Domino. At one point, the phrase "sophisticated pop decor" is used to describe the decorating. That's certainly not my personal style but I was immediately drawn to the predominantly black and white color scheme.
The black and white never looks extreme, thanks to pops of color in smaller decor/accent pieces. Each room also has a piece of antique furniture or a natural element, like woven baskets, that brings some warmth.
I had this home in mind when I decided to paint the interior of our front door black. Apparently Edwards painted all of her interior doors black, which I would eventually LOVE to do. Not sure if I can get the hubby on board...
Domino often provided paint color information on their spreads but I couldn't find anything listed for the Edwards feature. It's definitely a warm white for the walls and I'm assuming the black is high-gloss.
I painted my interior door several months ago, just before Ralph Lauren Paints left Home Depot. The color is "Bone Black". I read somewhere (Bryn Alexandra?) that Home Depot still has the ability to mix past colors. I guess the color formulas are kept in their computers but you'd have to verify.
I love the black interior doors throughout. A really inexpensive way to make an impact, especially for those of us (ME) who tend to be a little wishy-washy with their interior design.
Thursday, February 17, 2011
On the Fritz!
Sorry for the absence of new posts this week! The computer I use for all my photos and uploading has died. I'm in the process of having the old hard drive transferred to a new computer, frankly it feels like Best Buy is holding my new computer hostage. So...to my one follower...be back soon, and thanks!
Friday, February 11, 2011
Cold, Black Heart
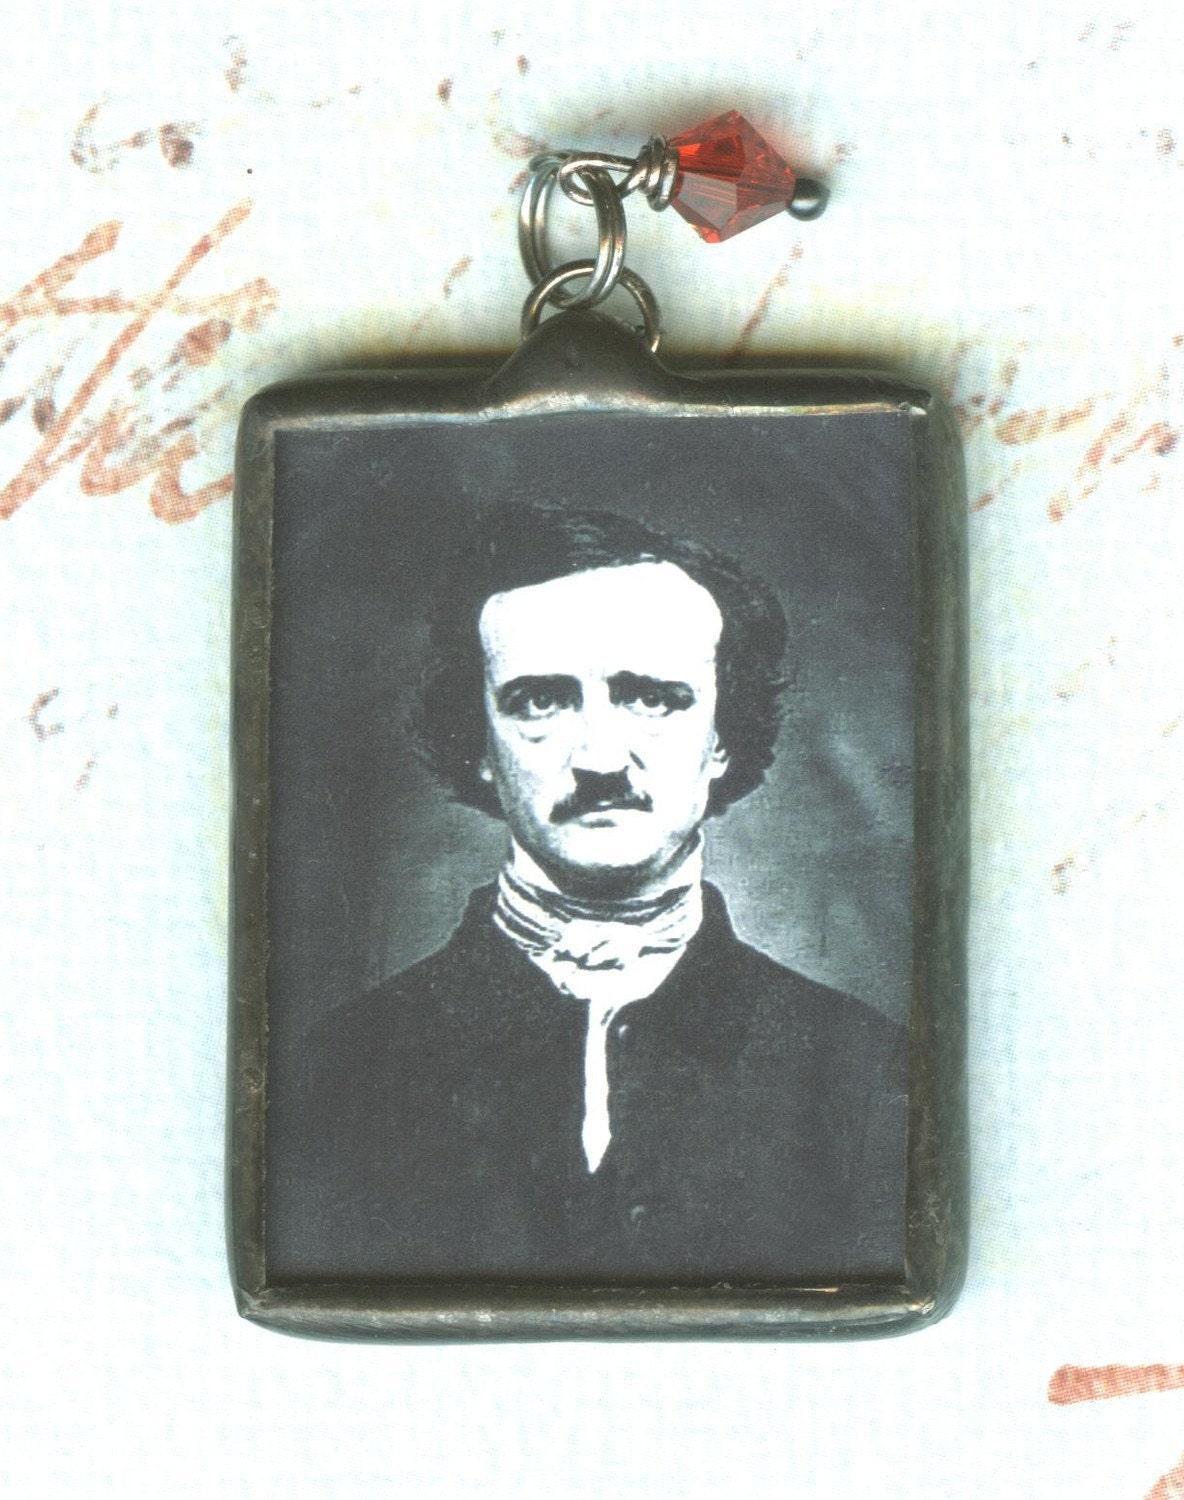
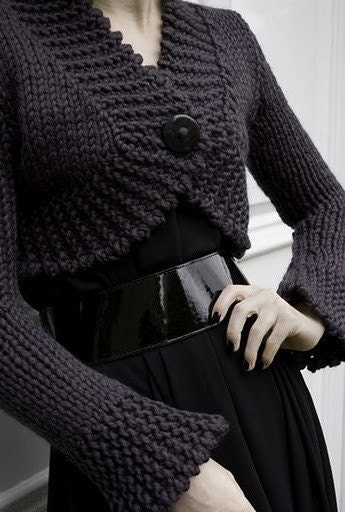
Wish I could arrange this just like it looks on the Etsy treasury, here's the link.

$34.00 USD
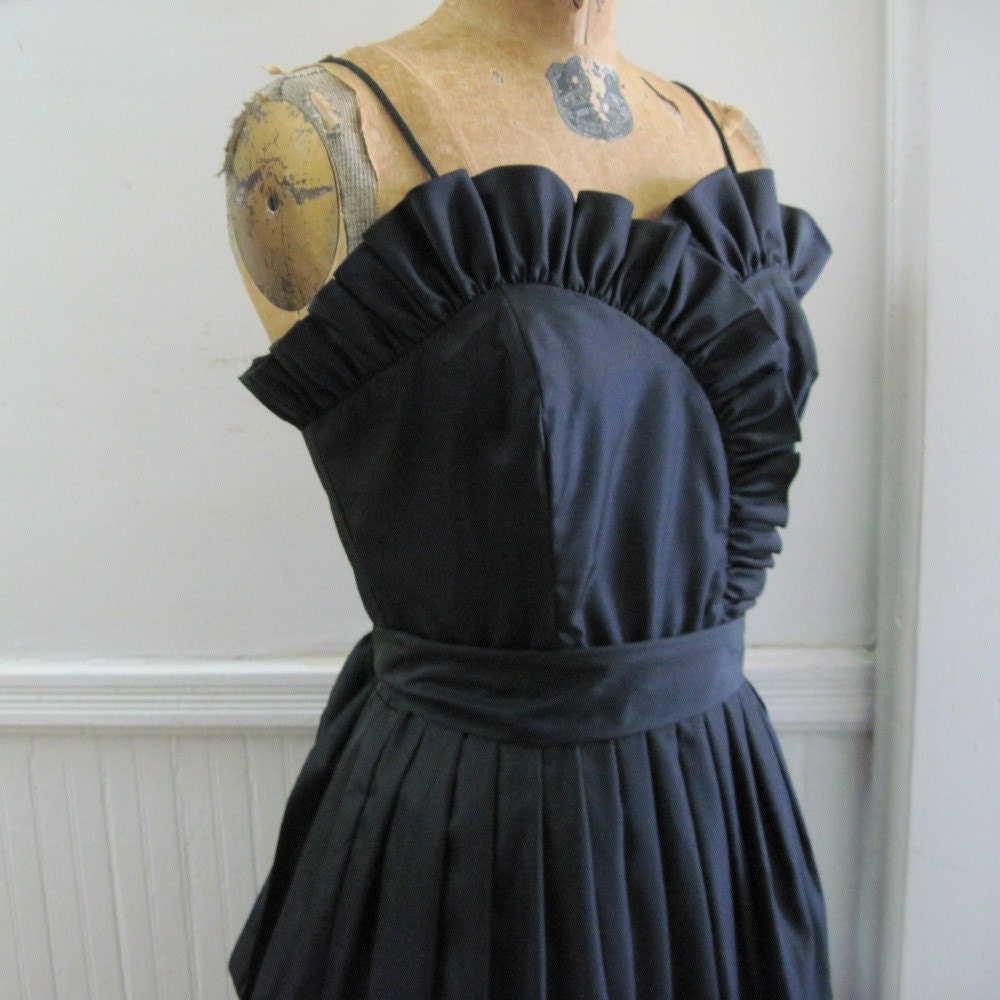
$64.00 USD
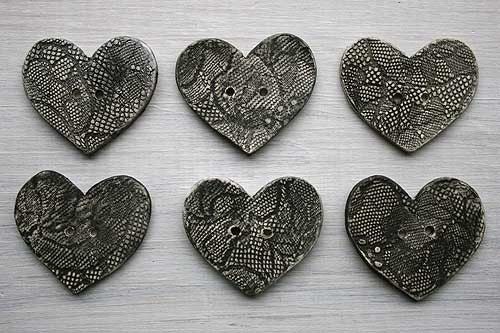
$14.83 USD
$9.35 USD
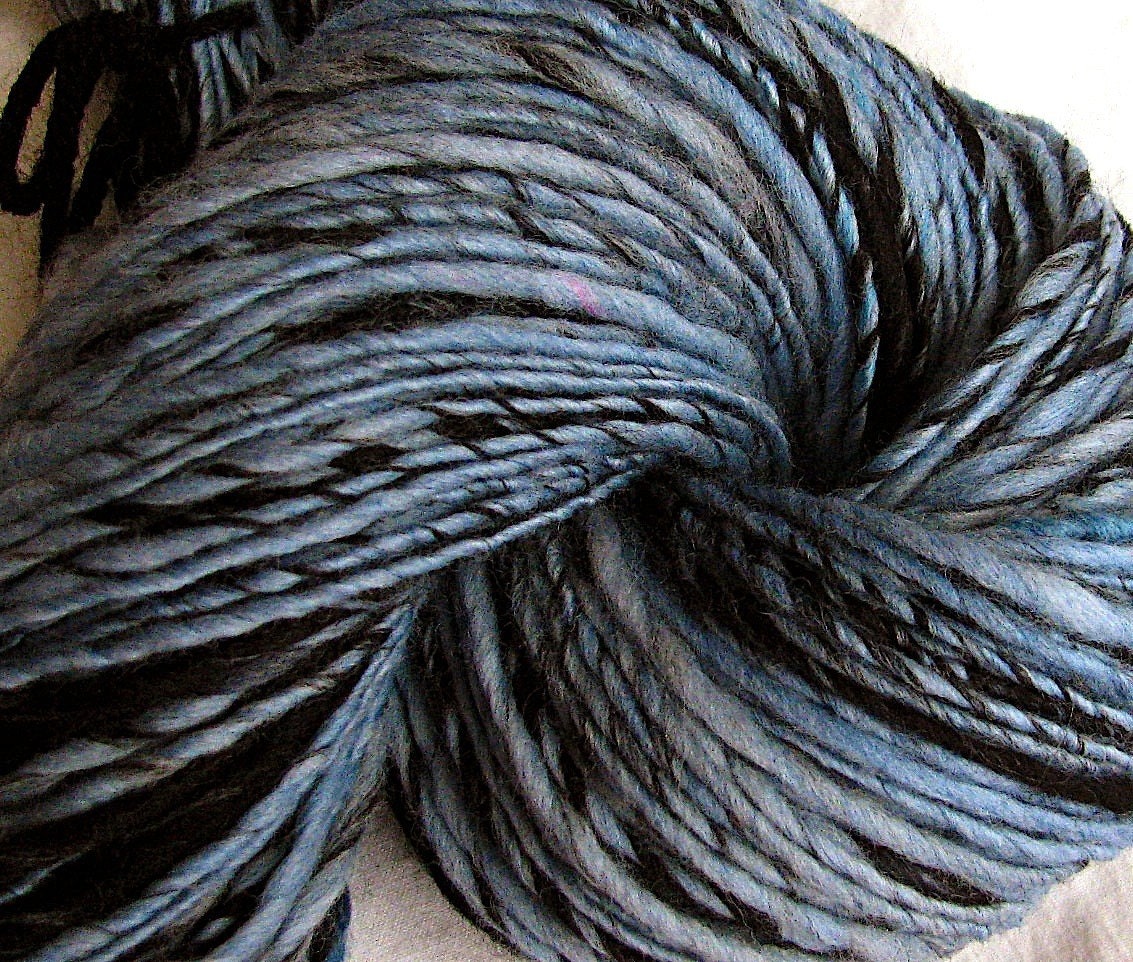
$34.00 USD
$12.00 USD
$5.00 USD

$20.00 USD
$70.00 USD

$10.00 USD
$60.00 USD
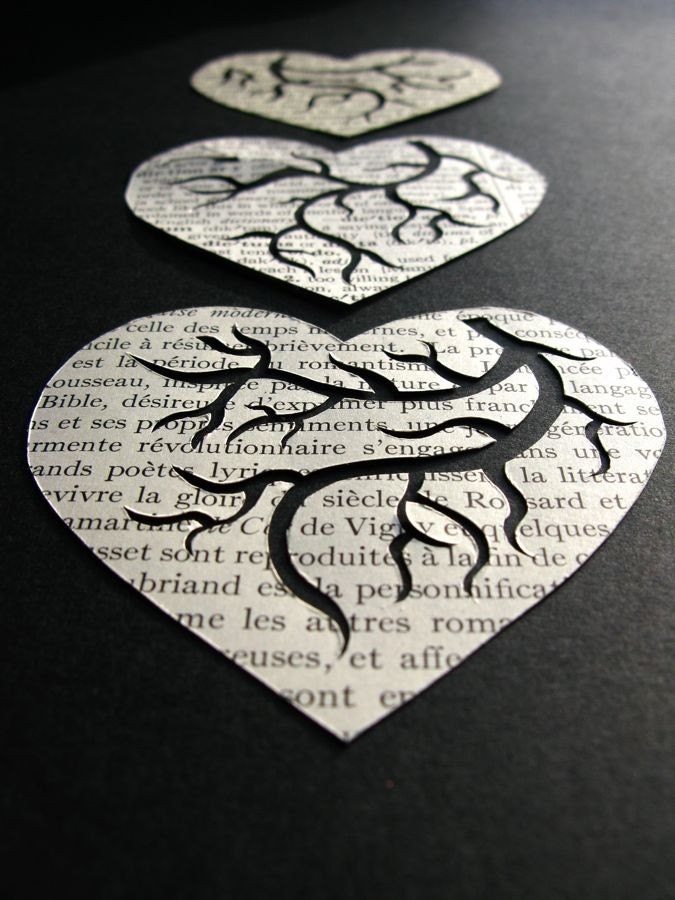
$31.00 USD
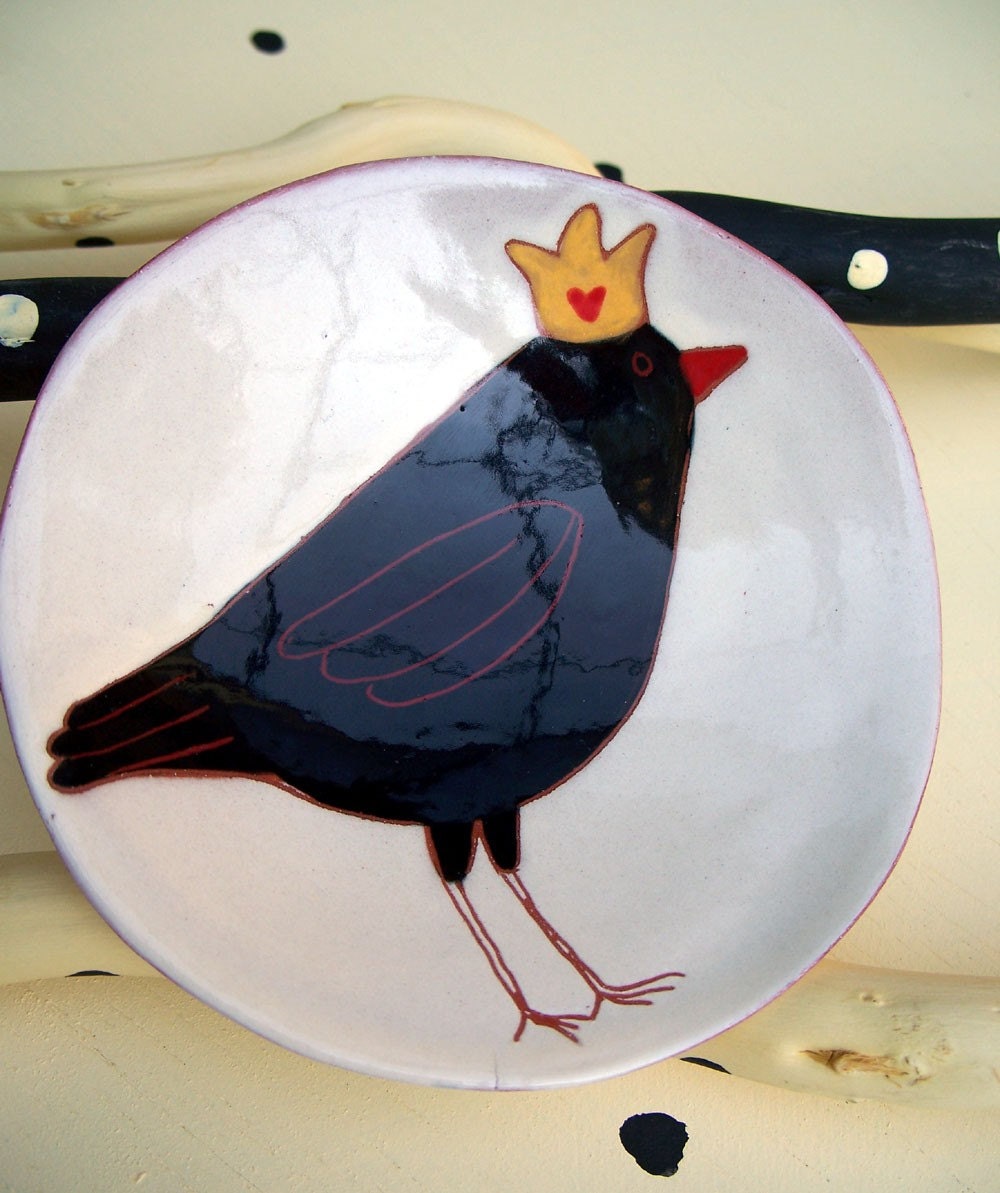
$18.00 USD

$20.00 USD
$24.00 USD

Thursday, February 10, 2011
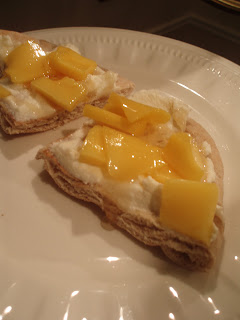
Mango and Ricotta Snack
The January or February issue of Martha Stewart Living had a nice feature on healthy snacks. The beautiful food photography inspired me to try one earlier in the week. Can I just say that food photography is HARD!? I came up with a yummy kale recipe and even remembered to take a few pictures of the plate. I seriously took about 20 photos (loser) and I might have 2 that I'm not ashamed to post. Kale is not photogenic.
But as I recall, this post is titled Mango and Ricotta Snack so let's get to it!
I didn't actually read the MSL recipe, just copied what I remembered seeing in the photo. "Martha" used apricots but the mango worked at our house! Clearly it's not rocket science but it was delicious.
Ingredients:
one pita round
4-5 Tablespoons ricotta cheese
3/4 c. mango (slices or chunks)
honey
Spread ricotta cheese over the pita bread. Add mango on top of ricotta and cut pita round into quarters. Drizzle 2 Tablespoons honey over mango.
Tuesday, February 8, 2011
Easy and Inexpensive Large Inspiration Board
This is a long post, so if you're looking for Thrift Share Monday you can click on over! Thanks for stopping by.
I'll go ahead and admit that this is not a magazine worthy, top-quality project. Maybe if I was a better photographer I could pull off a more "finished" look but I decided to share anyway. I'm posting it because if you're tight on time and your decorating budget is nil, this is actually still doable. A large board can help cut down on clutter while at the same time bringing impact to an empty wall or focus to a room.
This project can translate to an office, a kid's room, a family room, etc. I'll go through the process with photos then list the price and materials breakdown at the end.
1. Take a look at your wall space and decide on the approximate size you'd like your board. I had 7 1/2 feet of empty wall space with 8 ft. ceilings and my board is about 40 in. square.
2. Lay out your foam board. Depending on your desired "final" size, you may have one solid piece of board or 3 or 4 pieces. As you see below I used 2 20"x30" boards and then cut another board in half lengthwise. I used one 10"x30" piece (top right) and then made another cut for the 10"x10" piece (top left). Foam board is easily cut with an exacto knife or straight blade (or frankly, a sharp knife from the kitchen).
Clearly, a solid rectangular piece is easier but I wanted a square! My Hobby Lobby also sold a 3'x4' piece that would work perfectly.
3. If you have multiple pieces simply square them up and then use duct tape to join into a solid piece.
4. Lay out your chosen fabric. I used burlap. (Call your craft or fabric store first to be sure they carry burlap). Burlap gives some texture to your space and doesn't compete with anything you may add to your board. As a bonus it's also inexpensive (about $3 a yard in my neck of the woods).
7. As you approach the corners, fold the fabric over the corner and tape (basically on the diagonal). Then, pull the fabric snug to those edges and tape, making a neat fold on the back of your board.
I warned you this method wasn't anything fancy! If it makes you feel better you can add a long piece of tape to the back edges to make it look slightly more finished. Honestly, who cares? This will be hidden against the wall and no one will ever know that the back looks sloppy.
I used Command Hanging Strips for this board. Three strips can hold 9 lbs and my board isn't anywhere near that heavy. It solves the problem of rigging up a wire on foamboard (is that possible?) and saves your wall from nail holes.
8. Attach Command strips to the back of your board. Here's a little trick: cut a single Command strip in half to make a gripping set. This way you can use one pack of strips and spread them out on your board for better coverage.
9. Make pencil marks on your wall to ensure you are able to place your board exactly where you want it!
10. Remove the cover from your Command "pairs" and then press your board onto your wall space. I recommend another set of hands and eyes to help with this step, especially if you have a large board. Be sure to apply pressure for several seconds at each attachment point.
Materials:
3 pieces of 20x30" foamboard - $4.50
1 1/3 yds burlap - $4.00
duct tape - $0.50
Command Strips - $4.00
Tools:
Exacto Knife
pencil
measuring tape
Hindsight's 20/20: I'm planning on making another board this week and this time I'll use the thick foam board (1/2") I saw at my craft store. A store bought bulletin board can also be covered with fabric, but an extra large cork bulletin board is a good deal more expensive than the foam board version.
I'll go ahead and admit that this is not a magazine worthy, top-quality project. Maybe if I was a better photographer I could pull off a more "finished" look but I decided to share anyway. I'm posting it because if you're tight on time and your decorating budget is nil, this is actually still doable. A large board can help cut down on clutter while at the same time bringing impact to an empty wall or focus to a room.
This project can translate to an office, a kid's room, a family room, etc. I'll go through the process with photos then list the price and materials breakdown at the end.
1. Take a look at your wall space and decide on the approximate size you'd like your board. I had 7 1/2 feet of empty wall space with 8 ft. ceilings and my board is about 40 in. square.
2. Lay out your foam board. Depending on your desired "final" size, you may have one solid piece of board or 3 or 4 pieces. As you see below I used 2 20"x30" boards and then cut another board in half lengthwise. I used one 10"x30" piece (top right) and then made another cut for the 10"x10" piece (top left). Foam board is easily cut with an exacto knife or straight blade (or frankly, a sharp knife from the kitchen).
Clearly, a solid rectangular piece is easier but I wanted a square! My Hobby Lobby also sold a 3'x4' piece that would work perfectly.
3. If you have multiple pieces simply square them up and then use duct tape to join into a solid piece.
4. Lay out your chosen fabric. I used burlap. (Call your craft or fabric store first to be sure they carry burlap). Burlap gives some texture to your space and doesn't compete with anything you may add to your board. As a bonus it's also inexpensive (about $3 a yard in my neck of the woods).
5. Just place the fabric on top (or underneath) of your board and cut an extra 2 inches around the perimeter. 6. With your fabric on the floor and the solid white side of your board against the fabric, begin to tape your fabric to the board. I recommend starting at the opposite centers to be sure your fabric is smooth and even over the board. For example, if your board was a clock you would tape at 12 and 6 o'clock, then at 3 and 9 o'clock. Work outward from those points.
7. As you approach the corners, fold the fabric over the corner and tape (basically on the diagonal). Then, pull the fabric snug to those edges and tape, making a neat fold on the back of your board.
I warned you this method wasn't anything fancy! If it makes you feel better you can add a long piece of tape to the back edges to make it look slightly more finished. Honestly, who cares? This will be hidden against the wall and no one will ever know that the back looks sloppy.
I used Command Hanging Strips for this board. Three strips can hold 9 lbs and my board isn't anywhere near that heavy. It solves the problem of rigging up a wire on foamboard (is that possible?) and saves your wall from nail holes.
8. Attach Command strips to the back of your board. Here's a little trick: cut a single Command strip in half to make a gripping set. This way you can use one pack of strips and spread them out on your board for better coverage.
9. Make pencil marks on your wall to ensure you are able to place your board exactly where you want it!
10. Remove the cover from your Command "pairs" and then press your board onto your wall space. I recommend another set of hands and eyes to help with this step, especially if you have a large board. Be sure to apply pressure for several seconds at each attachment point.
Materials:
3 pieces of 20x30" foamboard - $4.50
1 1/3 yds burlap - $4.00
duct tape - $0.50
Command Strips - $4.00
Tools:
Exacto Knife
pencil
measuring tape
Hindsight's 20/20: I'm planning on making another board this week and this time I'll use the thick foam board (1/2") I saw at my craft store. A store bought bulletin board can also be covered with fabric, but an extra large cork bulletin board is a good deal more expensive than the foam board version.
Monday, February 7, 2011
Thrift Share Monday
A few finds from the last week. Thanks ATG for encouraging Thrift Share Monday!
Maybe I'm developing a "thing" for enamel ware, I've picked up several pieces in the last three weeks. I love this white with red short handled dipper.
And the last thing to share, a metal recipe card box from Avon. I'm assuming it was some type of giveaway, I'll have to do a little research. It's not really my style , I don't have much folksy stuff in my house but the colors are so cheery that I brought it home.
Thanks for stopping in to check-out the thrift share, have a lovely week everyone.
Maybe I'm developing a "thing" for enamel ware, I've picked up several pieces in the last three weeks. I love this white with red short handled dipper.
I'm not sure if this will be listed in my Etsy shop but if I decide to keep it I think it will make a great dog food scooper!
I also found this pewter syrup pitcher marked way down at an antique store. It looks like he's wearing a tricorn hat.
And the last thing to share, a metal recipe card box from Avon. I'm assuming it was some type of giveaway, I'll have to do a little research. It's not really my style , I don't have much folksy stuff in my house but the colors are so cheery that I brought it home.
Thanks for stopping in to check-out the thrift share, have a lovely week everyone.
Subscribe to:
Posts (Atom)


